How To Build A Static Website On Github
Setting up a static website in GitHub includes the following stages:
- Setup basic website configuration
- Configure site-wide appearance using _Config.yml yaml file
- Setup the index.md file
- Create the first blog post using Markdown
Explained below are the stages in detail:
Setup basic website configuration
-
Log in to GitHub.
-
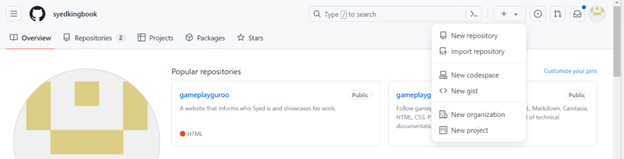
Click + and select New repository.
-
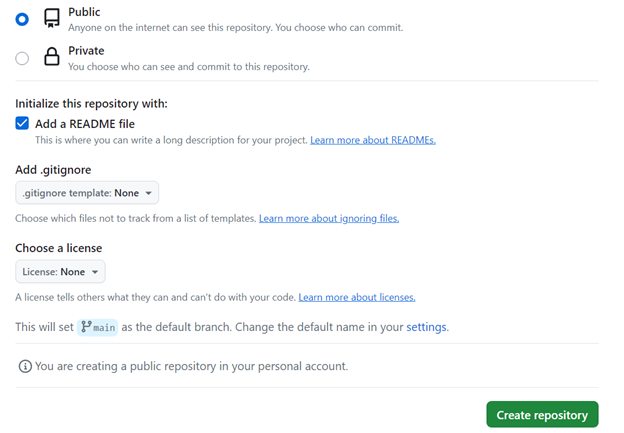
In the New repository page, enter the name of the new repository.
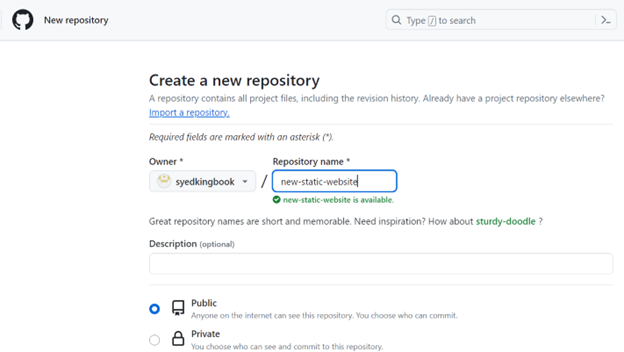
- If you want to make the new static website visible to all, select the Public radio button.
-
Scroll down the page and select the Add a README file check box.
-
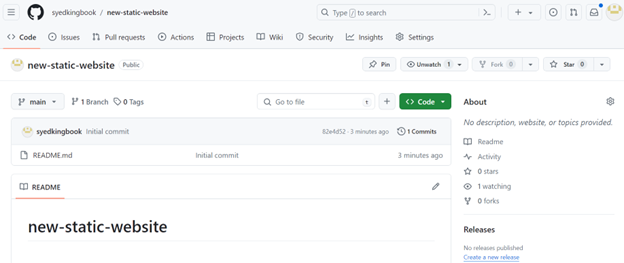
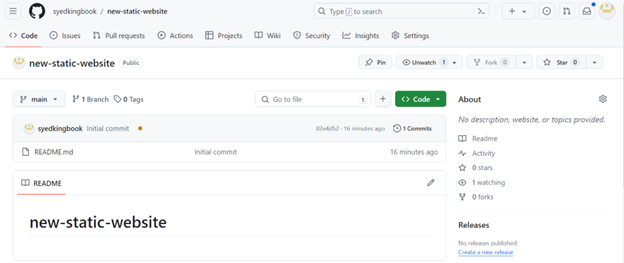
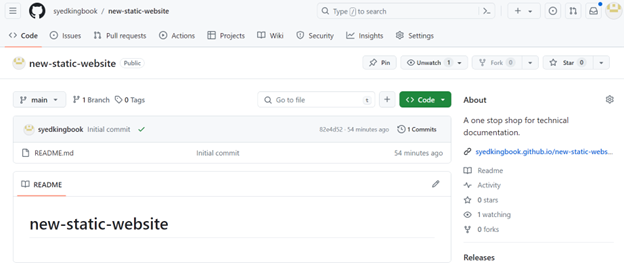
Click Create repository. The new website appears.
-
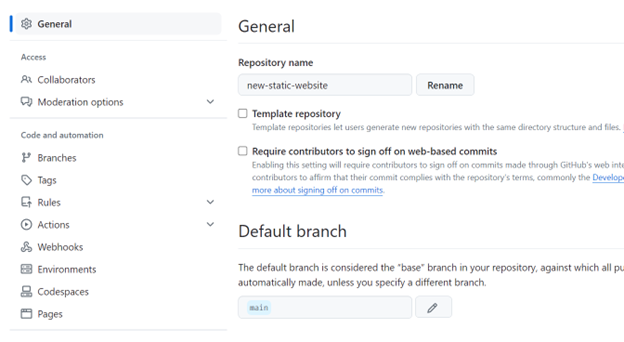
To setup GitHub Pages, select Settings.

-
In the left navigation pane of the Settings page, navigate to Pages.
-
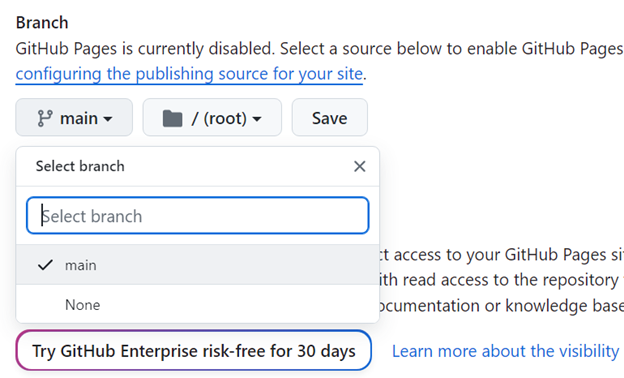
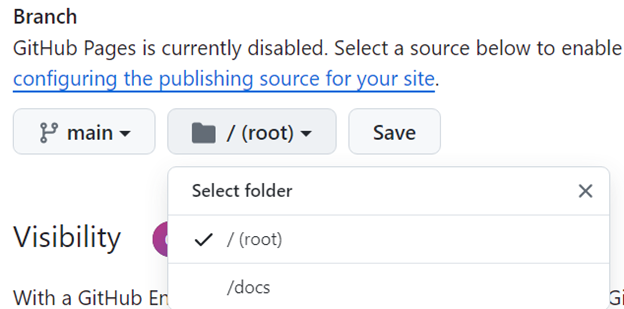
In the Pages page, click the Branch drop-down menu and select the branch main.
-
In the next option, select the root folder.
-
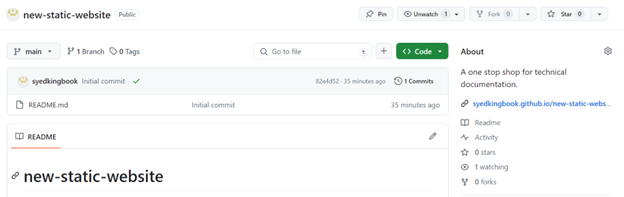
Click Save. In this page, the setup shows README.
-
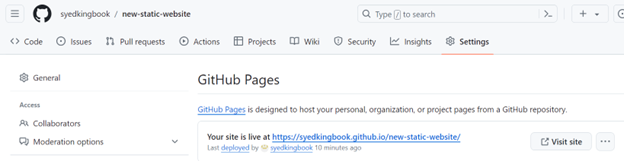
In Pages, you can find the website link.
- In the tab bar, select <> Code.
-
Click the settings icon in the right pane.
- Enter the description and website details.
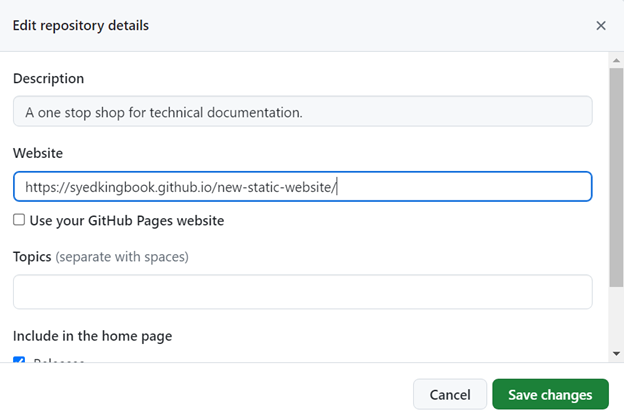
The details appear.
Create and configure the _Config.yml file
-
To go to the new repository you created, select the new repository in the home page.

-
In the new repository page, select + and select Create new file.
-
In the create new file page, enter _config.yml in the box and then click outside the box.
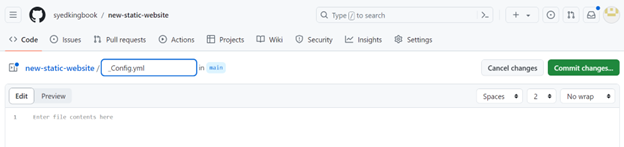
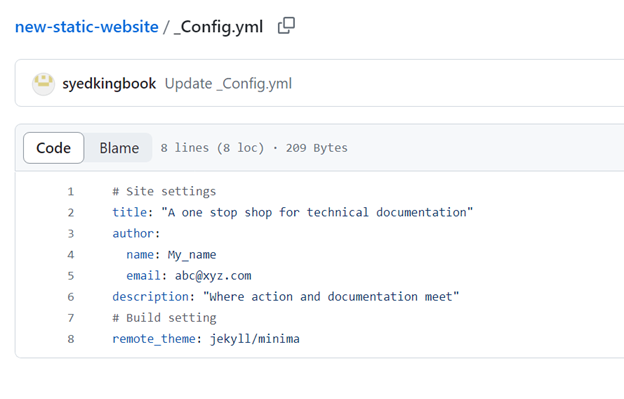
- Enter the configuration details. A sample is below:
Site settings
title: A one stop shop for technical documentation author: name: NAME email: EMAIL ADDRESS description: Where action and documentation meet
Build settings
remote_theme: jekyll/minima
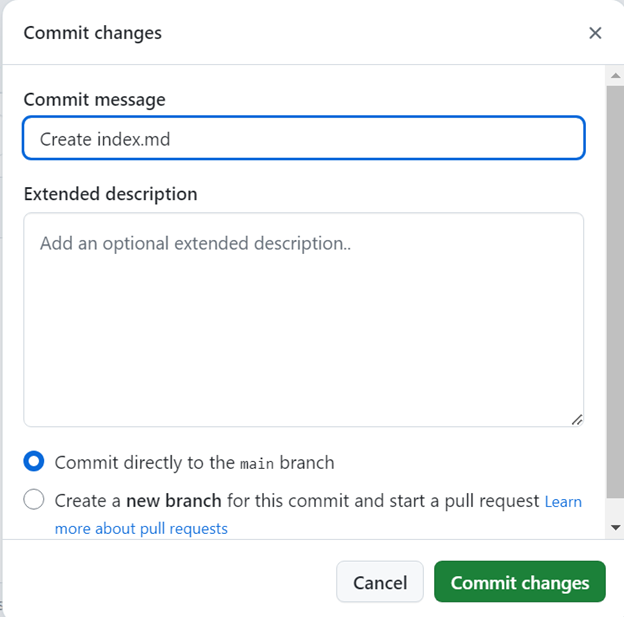
- Click Commit changes.
- In the Commit changes window that appears, enter the following details: a. Commit message b. Extended description c. Commit directly to the main branch
- Click Commit changes. The details appear as below.
Setup the index file
- In the new repository home settings page, click +.
- Select Create new file.
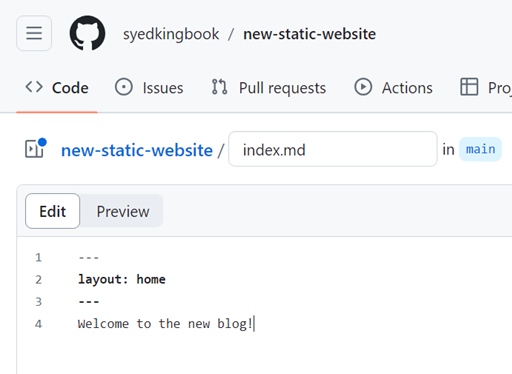
- In the new file page, enter the following details.
a. In the file name field, enter index.md.
b. In the content box, enter the following details:
[—]
[layout: home]
[—]
[Welcome to the new blog!]
[Note: The welcome note is optional. You can choose whatever you want if > you want to have one.]
- Click Commit changes on the right.
- In the Commit changes window, enter: a. Commit message b. Description
- Click Commit changes.
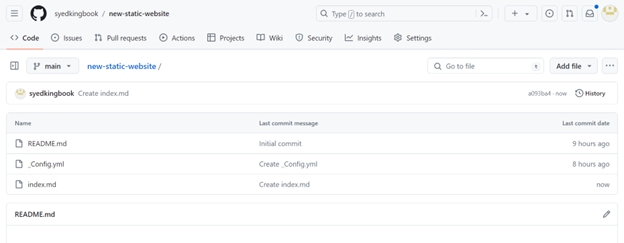
The details appear.
Create the first blog post using Markdown
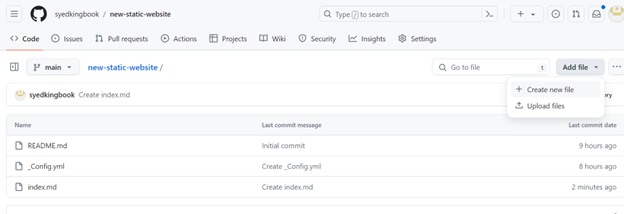
- In the new repository, click Add file.
-
Click Create new file.
-
In the file name field, enter _posts/. A new folder with the name _posts is created.
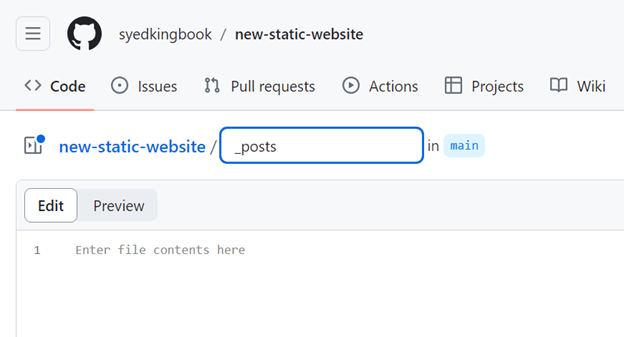
-
Enter the blog file name in the format: yyyy-mm-dd-filename.md
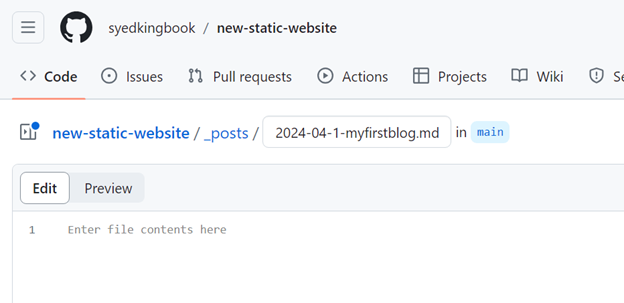
- Enter the blog details and content as shown below for instance.
[—]
[layout: post]
[title: “My first blog”]
[categories: misc]
[—]
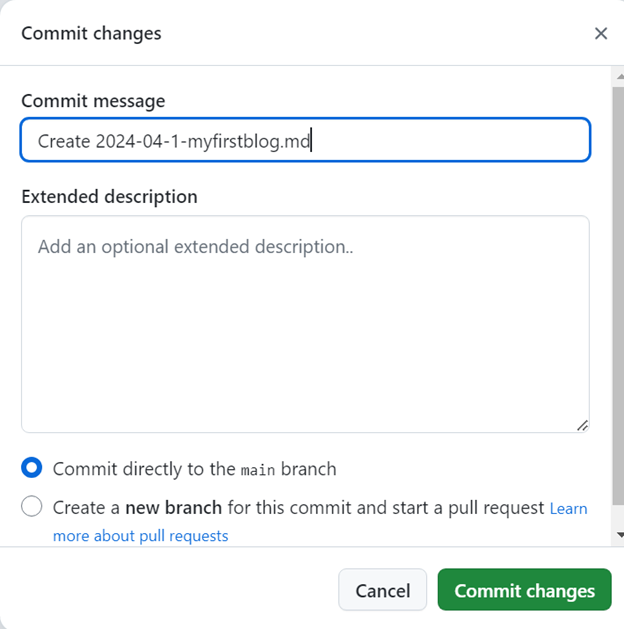
Welcome to the world of technical documentation. - Click Commit changes…
-
Enter relevant details and click Commit changes.
-
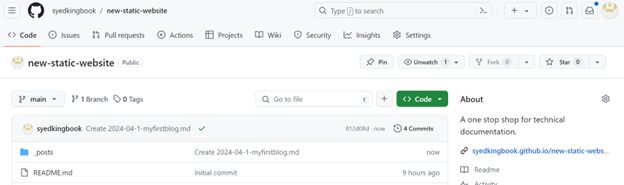
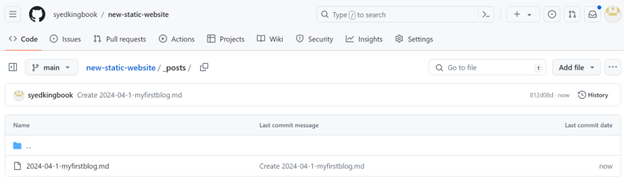
The blog is listed as shown below for instance.
- In the new repository home settings page, click the website link.